
You've decided to buy cryptocurrency. What's stopping you isn't motivation — it's the dozen exchange logos, the wallet jargon, and the security warnings stacked on every page you've opened in the last hour. You want to know which sequence of steps moves money safely from your bank account into an asset you actually control, without ending up locked out, overcharged, or scammed.
This guide walks the exact order a first-time buyer should follow: choose an exchange, lock the account, fund it, execute the trade, decide on storage, and avoid the predictable mistakes. The minimum entry on most regulated exchanges is $10, according to Token Metrics, so the financial barrier to learning the workflow is effectively zero. The cost of doing it wrong, however, is not. The buyers who keep their crypto are the ones who treated the first purchase as a process to learn — and that process is what the rest of this article on how to buy cryptocurrency will give you, step by step.
Table of Contents
- Choosing a Regulated Cryptocurrency Exchange Based on Where You Live and How Much You'll Move
- Locking Down Your Account Before You Deposit a Single Dollar
- Funding the Account — Picking Between Bank Transfer, Debit Card, and Wire
- Executing the Trade — Market Orders, Limit Orders, and Why Timing Doesn't Save You on Small Buys
- Deciding Between Exchange Storage, Hot Wallets, and Hardware Wallets
- Mistakes That Cost First-Time Buyers Money — A Pre-Purchase and Post-Purchase Checklist
Choosing a Regulated Cryptocurrency Exchange Based on Where You Live and How Much You'll Move
Your first real decision isn't which coin to buy. It's which platform to put your money on. The regulated cryptocurrency exchange you pick determines your fees, your withdrawal speed, the identity documents you'll surrender, and — when something goes wrong — whether you have any legal recourse at all. Frame this as a jurisdictional and risk-tolerance decision, not a popularity contest.
Three filters matter, in this order:
1. Regulatory status in your country. US residents need an exchange that holds state money-transmitter licenses — Coinbase, Kraken, and Gemini all operate under these frameworks. EU residents fall under MiCA (Markets in Crypto-Assets) regulations that took effect across 2024–2025; confirm any exchange you're considering is MiCA-authorized in your member state. Important nuance: "regulated" doesn't mean "safe from market loss." It means there's an audit trail, a registered legal entity, and a complaint pathway when an account freezes mid-withdrawal.
2. Fee structure relative to how you'll fund the account. Maker fees (limit orders that add liquidity to the order book) range from 0.01% to 0.30%; taker fees (market orders that remove liquidity) range from 0.01% to 0.40%, according to Fidelity. Card purchases stack an additional 2–4% on top of any exchange spread, per Token Metrics. On a $500 buy, that's the difference between $1 in fees and $20.
3. Withdrawal limits and processing windows. A platform that lets you deposit instantly but holds withdrawals for 7–10 days is a fundamentally different product from one that lets funds move in 24 hours. Check this before depositing, not after.
Major Regulated Exchanges Compared
| Exchange | Regulatory Status (US/EU) | Maker/Taker Fee Range | Card Purchase Fee | Beginner UI |
|---|---|---|---|---|
| Coinbase | US state licenses; MiCA-registered | 0.00%–0.40% / 0.05%–0.60% | ~3.99% | Strongest |
| Kraken | US state licenses; MiCA-registered | 0.00%–0.25% / 0.10%–0.40% | 3.75% + €0.25 | Moderate |
| Gemini | NYDFS-regulated (US) | 0.00%–0.20% / 0.03%–0.40% | 3.49% | Strong |
| Binance.US | US state licenses (limited states) | 0.00%–0.10% / 0.05%–0.10% | ~4.5% | Moderate |
| Crypto.com | Various US/EU registrations | 0.00%–0.075% / 0.05%–0.075% | 2.99% | App-first |
Fee ranges sourced from Fidelity and Token Metrics. Tiered structures mean new accounts pay the high end of each range until volume thresholds are reached.
A regulated exchange is not a guarantee against loss. It is a guarantee that someone has to pick up the phone when something goes wrong.
For a first-time US buyer moving under $1,000, Coinbase or Gemini are the right answer despite slightly higher fees. The cost of confusion — wrong order type, wrong asset ticker, wrong network — exceeds the cost of fees on small amounts. Paying an extra $4 on a $200 buy to avoid sending USDC on the wrong chain is not a bad trade.
For a buyer planning to move more than $5,000 over the next six months, Kraken's lower taker fees compound noticeably. A 0.20% fee gap on $5,000 in cumulative volume is $10; on $20,000 it's $40. The spartan UI is a solvable problem — most beginners adjust within a week.
If your country isn't supported by any of the major regulated platforms, do not improvise with offshore exchanges. Unsupported jurisdictional access means no recovery if your account is locked, no legal pathway if funds disappear, and frequently no working customer service. Wait for regulated entry, or use a peer service that explicitly supports your country with full compliance.
Locking Down Your Account Before You Deposit a Single Dollar
This is the step most beginners skip and most loss victims regret. Almost every "my crypto got stolen" story traces back to one of the actions in this section being skipped or done lazily. Tighten cryptocurrency account security before funding — not after, and never alongside.
1. Complete KYC identity verification. You'll submit a government ID, a selfie, and (for US residents) your Social Security Number, according to Coursera. Verification can take minutes during quiet periods or several days when the platform is overloaded after a price spike. Do this before depositing — accounts can be flagged for additional review mid-transaction, freezing deposits while compliance teams catch up. You don't want to discover a 72-hour identity hold while $500 sits in limbo.
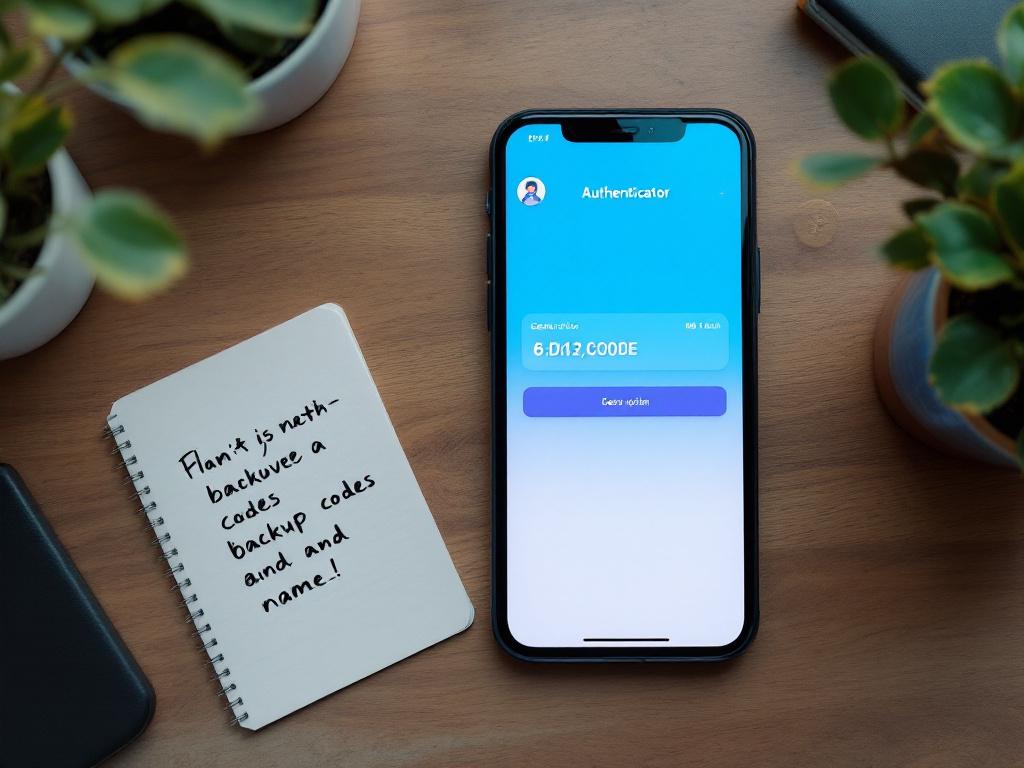
2. Enable 2FA using an authenticator app, not SMS. Google Authenticator, Authy, or hardware keys (YubiKey, Titan) generate codes locally on your device. SMS codes can be intercepted via SIM-swap attacks — a documented attack pattern where a scammer convinces your mobile carrier to port your number to their device, then receives every code sent to "you." Most exchanges offer SMS as the default during signup. Switch it. The five-minute setup is the difference between annoyance and account takeover.
3. Generate and store backup codes offline. When you enable 2FA, the platform issues 8–10 single-use recovery codes. Print them or write them down on paper. Do not screenshot them to a phone, do not save them to a cloud drive, do not email them to yourself. If you lose your phone with no backup codes, account recovery can take weeks and may require re-doing the full KYC process — sometimes with notarized documentation.
4. Set a withdrawal address whitelist if the exchange supports it. This restricts withdrawals to wallet addresses you've pre-approved, with a 24–48 hour delay before any new address becomes active. If an attacker gains login access, they can't drain funds to an unknown wallet within the lockout window — buying you time to notice and intervene. Coinbase, Kraken, and Gemini all support some version of this; turn it on.
5. Verify your recovery email — and use one that's also 2FA-protected. A compromised email is a compromised exchange account. Most account takeovers don't begin at the exchange layer; they begin at email. Use a dedicated email address for financial accounts, protect it with its own authenticator-based 2FA, and never reuse the password from any other service.
What not to do, briefly: don't reuse passwords from any other account; don't store your 2FA seed in the same password manager you use to log in to the exchange (a single breach exposes both layers); don't treat the security walkthrough as one-time work. Review your withdrawal whitelist every quarter, rotate passwords annually, and re-print backup codes whenever you change devices. Security is maintenance, not a setup wizard.
Funding the Account — Picking Between Bank Transfer, Debit Card, and Wire
The funding method is where beginners overpay without realizing it. A 3% card fee on a $500 purchase is $15 — invisible if you don't check, and recurring if you keep using cards every week. Picking the right rail once saves you four figures across a year of buying.
- Cryptocurrency bank transfer (ACH in the US, SEPA in Europe). Fees range from $0 to roughly 1% on most regulated exchanges; processing takes 1–3 business days, per Token Metrics. This is the right choice for any purchase above $300. The trap: many exchanges hold ACH-funded purchases for 5–10 days before allowing withdrawal of the crypto — meaning you own the asset on paper but can't move it off-platform. Check the exchange's hold policy before assuming "deposited" means "transferable."
- Buy cryptocurrency with debit card. Instant settlement, but card processors charge 2–4% on top of the exchange's spread. Fine for a first $50–$200 test purchase where the goal is learning the interface, not optimizing cost. The trap: some banks code crypto purchases as cash advances, triggering an additional 3–5% fee from your card issuer plus interest accrual from day one. Call your bank, or run a small test transaction and check the statement, before scaling up.
- Wire transfer (domestic or international). Bank fees of $15–$45 per outbound wire; exchanges typically don't add their own fee on top. Settlement is same-day or next business day. Useful only above roughly $5,000, where the flat wire fee becomes a smaller percentage than card fees would be. The trap: wire instructions must match exactly. One wrong reference number and the funds bounce, sit unattributed for days, or — in rare cases — get returned with a $20 reversal fee deducted.
- Peer-to-peer (P2P) marketplaces. Variable fees, often appearing cheaper on the surface, but counterparty risk is real: the seller can dispute the bank transfer after you've released the crypto, delay settlement past the platform's escrow window, or vanish post-payment. Skip this entirely as a first-time buyer. There's no scenario where P2P is the right answer for someone still learning the basic workflow.
The practical sequencing: use a debit card for your first purchase to learn the order flow with a small amount, then switch to bank transfer once you've confirmed the exchange behaves as expected on withdrawals and account access. The fee on a $100 card buy is $2–$4 — a reasonable tuition cost for understanding the full path from "click buy" to "asset shows in account."
A debit card buys you a fast lesson on a $100 transaction. A bank transfer buys you a 1% fee on every transaction after that. Use both — in that order.
This is the single sequencing decision that separates buyers who learn cheaply from buyers who pay tuition for a year. Once you've seen one purchase complete cleanly, the case for paying card fees on every subsequent buy disappears. Switch rails immediately and let the savings compound silently in the background of your strategy.
Executing the Trade — Market Orders, Limit Orders, and Why Timing Doesn't Save You on Small Buys
This is the moment you actually press Buy. The order screen will show two primary order types and a confirmation button. Understanding what each one does — and what it costs — is the difference between paying 0.05% and 0.40% in fees on the same trade.
A buy cryptocurrency market order executes immediately at the best available price on the order book. It pays the taker fee tier — 0.01% to 0.40% on regulated exchanges, per Fidelity. The trade-off: on a low-liquidity asset or during a volatile minute, the actual fill price can drift higher than the displayed price by a fraction of a percent. This is "slippage." On Bitcoin or Ethereum on a major exchange, slippage on a sub-$1,000 buy is negligible — measured in single cents. On smaller-cap assets or thinner trading pairs, it can run 0.5% to 1.5%. Worth knowing before you size up.
A cryptocurrency limit order explained simply: you set a target price; the order fills only if the market reaches it. Limit orders pay the maker fee tier — 0.00% to 0.30%, typically half the taker fee or less. The trade-off: if the market never hits your price, the order doesn't fill. You can sit with a pending order for hours or days while the market moves the other way.
Should You Wait for a Dip?
Every beginner asks this. The honest framing: on a first purchase under $500, the difference between buying today versus buying after a 5% pullback is $25. The probability that you'll correctly time a pullback is, charitably, 50/50 — and the emotional cost of watching the price rise 10% while you wait is higher than $25 in most cases. For small first purchases, market orders execute the lesson; limit orders optimize a margin that doesn't matter yet at that scale.
For purchases above roughly $2,000, limit orders start earning their complexity. A 0.20% fee saving is $4 on $2,000, and that compounds across a year of recurring buys. A buyer purchasing $2,000 weekly across 52 weeks at the limit-order tier saves roughly $200 in fees versus the market-order tier — small money on each trade, real money over a calendar year.
There's a third path worth knowing about: dollar-cost averaging (DCA). Most regulated exchanges support recurring buys — automated purchases at fixed intervals, usually weekly or monthly, per Token Metrics. For a reader planning to accumulate over months, a recurring weekly $50 buy outperforms most attempts at active timing because it removes the emotional re-buy reflex after volatility. You don't second-guess every dip; the calendar buys for you.
DCA isn't sophisticated. That's the point. The strategies that work for non-professional buyers are the ones that don't require correct predictions about short-term price movement.
What Happens After the Order Fills
The exchange shows the asset in your account immediately. The blockchain hasn't necessarily confirmed yet, and the two states are different. Confirmation time on the underlying network ranges from about 5 minutes to 2 hours depending on the asset — Bitcoin produces a block roughly every 10 minutes, Ethereum every 12 seconds, and exchanges often require multiple block confirmations before crediting an external deposit or allowing a withdrawal.
This matters only when you try to withdraw. Inside the exchange, your balance is credited instantly and tradeable. The blockchain confirmation matters when you push the asset to a wallet you control or to another platform.
Don't refresh the order page anxiously after the fill. The trade is done. The balance is yours. The next decision — and it's the bigger one — is where to keep it.
Deciding Between Exchange Storage, Hot Wallets, and Hardware Wallets
Leaving crypto on the exchange is a default, not a choice. Most beginners do it because they didn't know there was a question. Make the question explicit: cryptocurrency wallet setup is the difference between owning an asset and owning a claim on an asset that someone else is holding for you.
Three storage options, each with a different threat model:
On-exchange. The exchange holds your private keys. You log in with credentials. Convenient for active trading; vulnerable to exchange-level failures — insolvency, hacks, regulatory freezes. Mt. Gox in 2014, FTX in 2022, and Celsius in 2022 are the reference cases everyone in the industry knows by name. Reasonable choice for small balances actively being traded; not reasonable for long-term holdings.
Hot wallet (software wallet on phone or computer). You hold the private keys; the wallet itself is connected to the internet. Examples include MetaMask, Trust Wallet, and Exodus. Free to set up. Vulnerable to malware on the host device, phishing pages that mimic the wallet UI, and clipboard hijackers. Reasonable for balances you actively use — DeFi positions, payments, NFT purchases.
Hardware wallet (cold storage). A physical device — Ledger or Trezor are the dominant brands, priced between $60 and $150 — that signs transactions offline. Private keys never touch an internet-connected device. Vulnerable mainly to physical loss and seed-phrase mishandling, both of which are user-controlled. The standard recommendation for any balance you intend to hold beyond active trading.
Storage Options Compared
| Option | Who Holds the Keys | Typical Cost | Best For | Primary Risk |
|---|---|---|---|---|
| Exchange account | Exchange | $0 | Active trading; balances under ~$1,000 | Insolvency, hack, freeze |
| Hot wallet (software) | You (on connected device) | $0 | Frequent on-chain use; DeFi, NFTs | Malware, phishing |
| Hardware wallet | You (offline device) | $60–$150 | Holdings beyond 6 months; balances above ~$1,000 | Physical loss, seed exposure |
Cost ranges reflect general industry pricing for Ledger and Trezor product lines; risk categories reflect documented historical incidents at major exchanges.
The exchange is a storefront, not a safe. If you're holding past six months, an $80 hardware wallet is insurance, not luxury.
When Does a Hardware Wallet Pay for Itself?
The threshold question: at what balance does the hardware wallet vs. exchange decision tilt? If $80 buys you a device and your holding is $500, the device costs 16% of the asset — wait until your balance grows. If the holding is $3,000, the device costs roughly 2.7% of the asset, and the insurance starts looking obvious. By the time you're holding $10,000, the device is 0.8% of the position and the question answers itself.
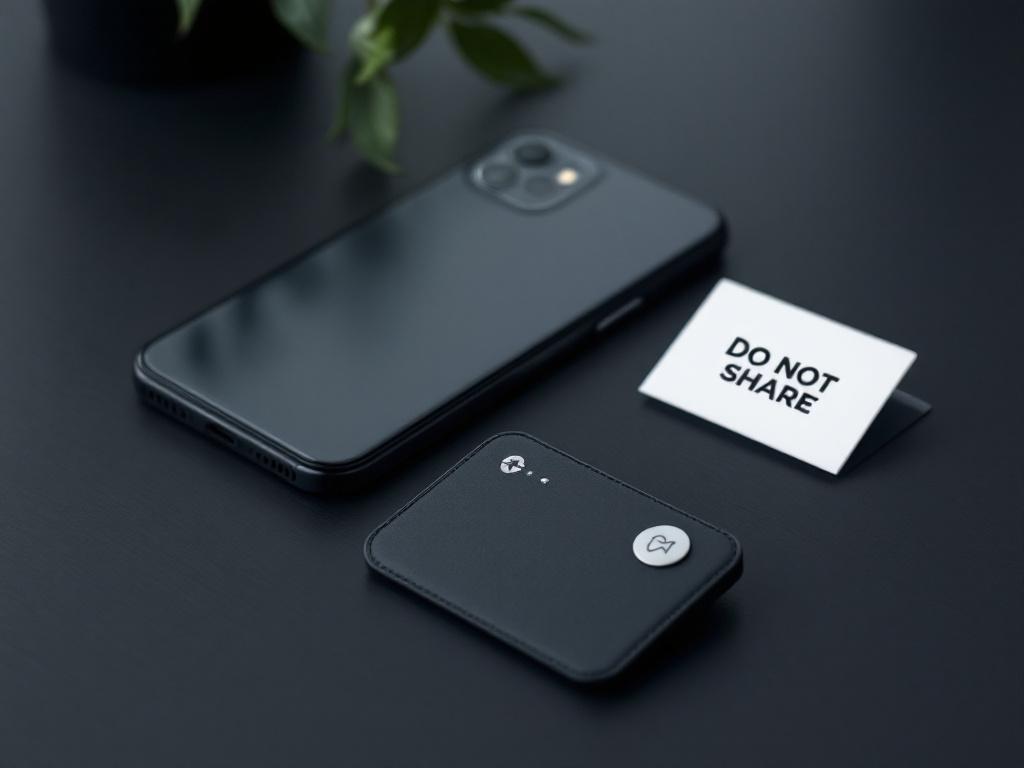
The seed phrase rule is non-negotiable: the 12 or 24 words generated when you set up a wallet are the wallet. Anyone with those words has the funds. Write them on paper — or stamped steel for serious holdings — store them in two physically separate locations, never type them into any device that connects to the internet, and never share them with anyone. Not customer support. Not the wallet manufacturer. Not the person on Telegram who claims to be from Ledger. The legitimate parties will never ask. The ones who ask are stealing from you in real time.
The transfer test, when moving funds off-exchange for the first time: send a small test amount — $10 is plenty — to your wallet first. Confirm receipt at the wallet address. Then send the rest. The $1–$3 you'll pay in network fees on the test transaction is cheap insurance against a wrong-address transfer, which is irreversible. There is no chargeback in crypto. There is no support ticket that recovers a transfer to a wrong chain. The test send is the only safety net you have, and it costs the price of a coffee.
Mistakes That Cost First-Time Buyers Money — A Pre-Purchase and Post-Purchase Checklist
Each item below corresponds to a specific category of preventable loss. These aren't aspirational best practices — they're concrete behaviors that separate the buyers who keep their crypto from the ones who don't. Run through this list before your first purchase, and again after.
1. Verify the wallet address character-by-character before every withdrawal. Clipboard-hijacking malware swaps a copied address for the attacker's the moment you paste. Always check the first four and last four characters against what you intended to send to. On a hardware wallet, verify the full address on the device's screen, not the computer's — that's the entire point of having the device. The computer can lie. The hardware wallet's screen can't, unless the device itself has been physically tampered with.
2. Never share your seed phrase, with anyone, for any reason. Exchange support will never ask. Wallet manufacturers will never ask. "Recovery services" advertising on Reddit, Telegram, Twitter, or YouTube comments are scams without exception. The phrase is the wallet; sharing it is handing over the funds. If you've already shared it with someone, treat the wallet as compromised, generate a new seed on a clean device, and move the funds immediately.
3. Don't buy during a price spike you saw on social media. By the time a token is trending on TikTok or Twitter, the entry price has already moved. For a small first purchase, the timing impact is marginal. For a panicked re-buy after watching a 20% pump, you've replaced learning the workflow with chasing the chart — and chasing the chart is how retail buyers consistently underperform.
4. Allocate cautiously — 1% to 5% of investable assets is a sane starting band. Token Metrics frames this as a defensible range for new buyers. Above that, you're not learning crypto — you're concentrating risk before you've earned the skills to manage it. Increase the allocation later, after you've cycled through at least one full volatility event with money on the platform and have data on how you actually behave when prices fall 30%.
5. Whitelist your own wallet address on the exchange before your first withdrawal. Activate the 24–48 hour delay window for any new address. If your account is later compromised, the attacker can't add a new address and pull funds inside the lockout window. This single setting has prevented six-figure losses for users whose accounts were taken over.
6. Store 2FA backup codes somewhere that survives losing your phone. Locked out of 2FA without recovery codes means weeks of identity re-verification, escalation tickets, and (in some cases) re-doing full KYC with notarized documentation, per Coursera. Print the codes. Put them in a drawer that isn't the same drawer as your phone charger. A safe deposit box is overkill for a $500 balance and entirely reasonable for a $50,000 one.
7. Don't use the same email and password combination as any other account. Email-layer breaches enable exchange-account takeovers — credential stuffing is automated, fast, and operates at scale across leaked databases. Use a password manager. Use a dedicated email for financial accounts. Treat your email as the front door to every financial relationship you have, because functionally that's what it is.
8. Treat any unsolicited message about your crypto as a scam until proven otherwise. Telegram DMs, Twitter replies offering "support," Discord moderators in unofficial channels, "support agents" responding to your public complaint within seconds — these are predator channels. The exchange contacts you only through the platform's logged-in messaging, never through external chat. If someone reaches out first, the answer is no.
What to Do the First Week After Your First Purchase
Log in once and confirm the balance is what you expect. Do not check the price daily — for a small first position, daily price-watching only trains the wrong instincts. Verify your withdrawal whitelist is set and the address belongs to a wallet you control. Practice a $10 test withdrawal to that wallet so the workflow is familiar before it matters at scale. Revisit the security checklist at the 30-day mark and confirm nothing has degraded — devices replaced, passwords leaked in unrelated breaches, recovery codes misplaced during a move. The maintenance is the protection.
The buyers who keep their crypto are the ones who treated the first purchase as a process to learn, not a position to defend.